Your Cart is Empty


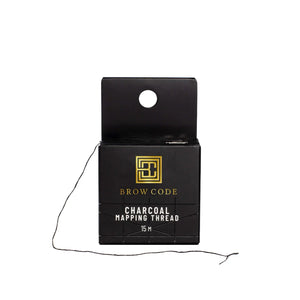

Reduce time mapping the perfect brow with the Brow Code’s Charcoal Eyebrow Mapping Thread. This mapping thread will help you achieve extremely symmetrical brows every time for your clients. The mapping thread is available in 15 metres.
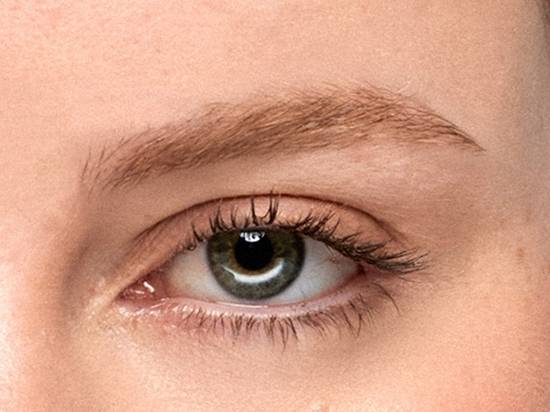
Complete a patch test before proceeding.
Ensure the brow area is clean, dry, and free from makeup or oil.
Use a professional-grade, oil-free cleanser to remove any residue, then pat dry with a cotton pad.
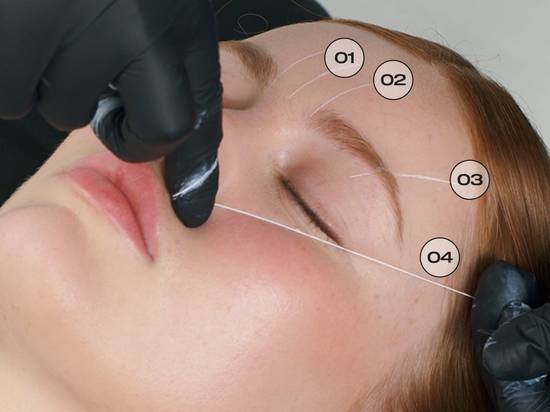
Cut a section of Black or White Charcoal Mapping Thread. Use the nose as a guide to carefully mark the following brow mapping points:
Centre: Align with the center of the nose to determine the midpoint between both brows for overall symmetry.
Head: Place a vertical line from the dimple (indentation) of the nose straight up to where the brow begins. This ensures the brows start in alignment with the natural facial structure.
Arch: Identify the highest point of the brow by aligning from the outer edge of the nose through the center of the pupil. This is the peak that gives the brow its signature lift.
Tail: Extend a line from the outer corner of the nose through the outer corner of the eye to mark where the brow should end. This prevents it from being too short or overly elongated.
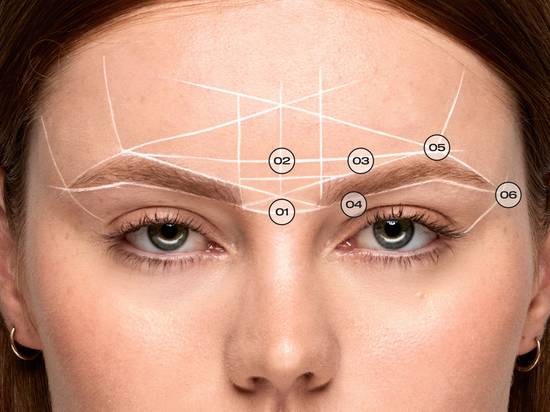
Once the key points are identified, use the Black or White Charcoal Mapping Thread to connect them and create a precise outline.
Base: Place the thread horizontally underneath the brow head to mark its lowest point.
Top: Place the thread horizontally above the brow head to mark its highest point.
Peak: Place the thread horizontally across the highest point of the arch to determine the ideal brow height
Lower Brow Line: Start at the center point and draw a line along the lower edge of each brow, beginning at the base of the brow head and ending at the base of the arch.
Upper Brow Line: Place the thread at the base of one brow, then connect it through the centre to the peak of the opposite brow. Repeat this process on the other side to outline the upper edges of both brows.
Tail Taper: To taper the tail, draw a line from the arch to the tail point along both the upper and lower edges of each brow.
Carefully assess the overall symmetry, height, and shape of both brows. Adjust the mapping lines as needed to ensure balance and proportion before moving into shaping.
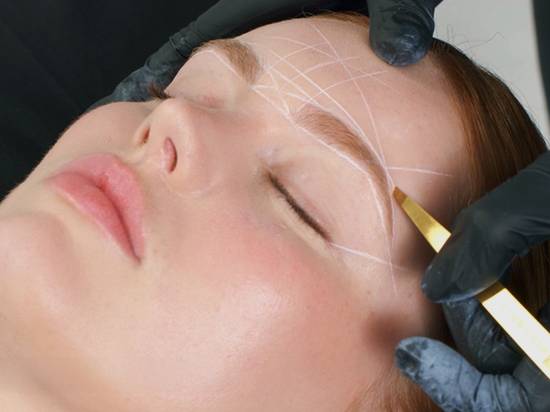
Wax, Tweeze and/or Trim Brows to desired shape.
Trimming: It’s very important to brush the brow hairs into their natural direction before this step. Use the Trimming Scissors to trim any stray hairs outside the mapped guideline, if necessary. Do not brush brow hairs upwards or downwards to trim.
Waxing: Apply wax and remove hair outside the mapped shape.
Tweezing: Use Slant Tweezers to remove any remaining stray hairs and refine the shape.

Wipe the brows gently with a damp cotton round to remove any remaining mapping pigment. Apply your chosen aftercare product to calm and hydrate the skin post-treatment.